Guide
Move a Strapi 5 project to Shapio with the importer
You will have your Strapi 5 models, media and content in Shapio, as drafts plus a change set that publishes them when you ship it.
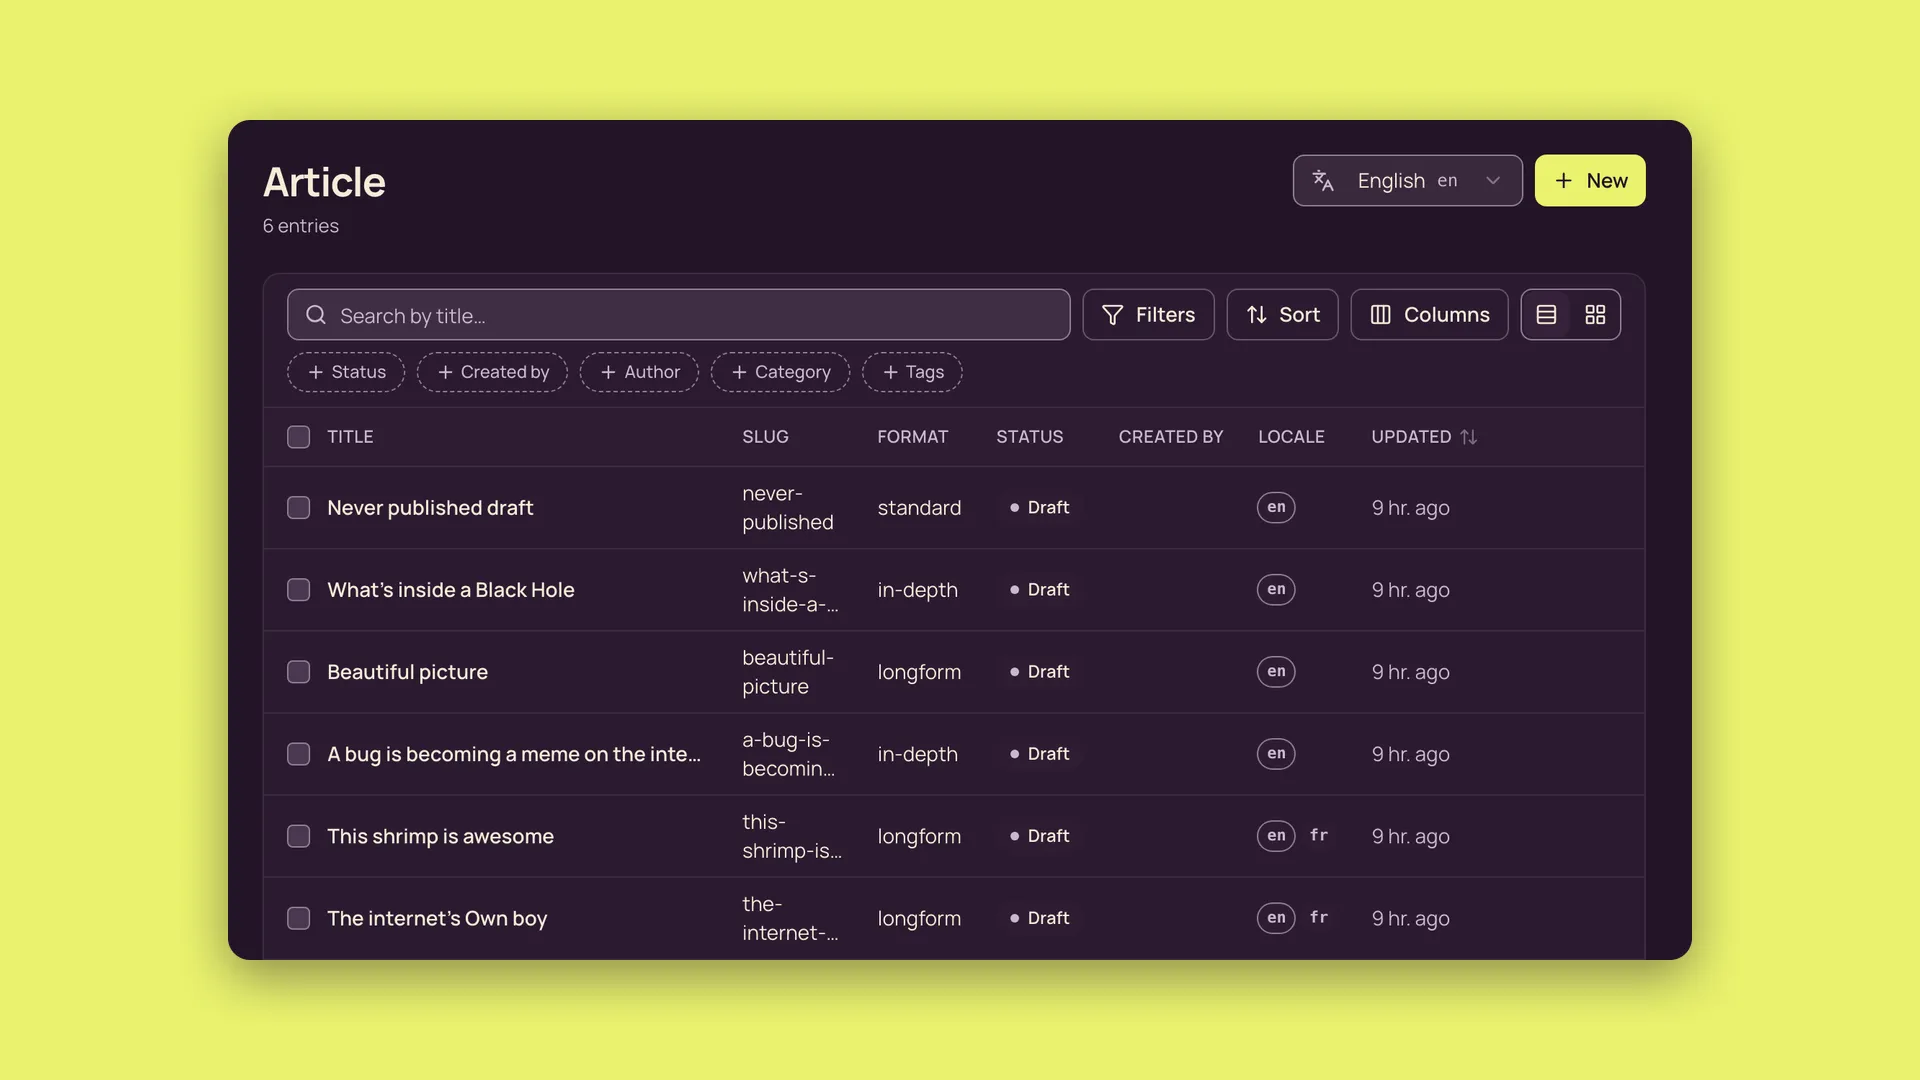
The importer turns Strapi content types into models, documents into entries, and uploads into media library assets. Every entry is created as a draft, and the ones that were published in Strapi are collected into a change set you review and ship.
Nothing goes live by itself.
Before you start
You need a Strapi 5 project and a running Shapio instance. Only Strapi 5 exports are supported.
Open /admin/ on the instance. If no admin account exists yet, Setup asks for your name, email and a password of at least 12 characters, entered twice. Do it right after the first start: until then, anyone who can reach the server can claim it.
Create the token the import runs with. In the admin, open Settings → API tokens, choose New token, give it a name, pick the Admin role and choose Create. The token is shown only once: copy it.
export SHAPIO_URL=https://cms.example.com
export SHAPIO_TOKEN="<the token>"
Run every npx shapio command below in your Shapio project (the one npm install @shapio/cms or create-shapio set up), where npx shapio finds the CLI. Anywhere else, including inside the Strapi project, use npx -p @shapio/cms shapio instead.
If your Strapi content is localized, add the same locales in Settings → Locales (Add locale, then a code such as fr and a name). The import refuses to start while one is missing.
Step 1: Export your Strapi project
npx strapi export --file my-export --key "<the key>"Run this in the Strapi project, then move the file next to your Shapio project. It writes my-export.tar.gz.enc, encrypted with the key. Keep the key, and once you have planned the import, leave the export file where it is until the import is done: the map step checks that the file has not changed.
Step 2: Plan the import
npx shapio import strapi my-export.tar.gz.enc --plan ./import --key "<the key>"The plan runs offline and sends nothing anywhere. It unpacks the export into ./import/source, so the key is needed only once, writes the proposed models into ./import/schema and prints every model with its entry counts.
Collection type / single type becomes collection / single type, API ID from the singular name, plural kept
Component becomes component, API ID from its name
uidbecomesuid(unique)floatbecomesnumberenumerationbecomesenum, orstringwhen the values are not valid API namesblocks,richtext(Markdown) becomes rich textmediabecomesmedia, single or multiple, allowed kinds keptrelationbecomesrelation(oneormany) on the owning side
Reserved names get a suffix, and the plan lists each one: Strapi's example components shared.media and shared.rich-text become mediaItem and richTextItem. Every planned model has draft and publish on.
Validation rules are not carried over. Users, roles, API tokens, plugin content types, configuration and review workflows are not imported.
Step 3: Review and apply the schema
npx shapio schema apply --dir ./import/schema --lock ./import/schema-lock.jsonBefore applying, you can rename API IDs and labels or delete fields. Entries follow stable IDs, so renames are fine.
The models belong to the primary site, so your admin token works without --site. To import into another site, plan with --site <key>. To share the models with all sites, plan with --shared and apply with a network admin token.
Step 4: Import media and content
npx shapio import strapi --map ./importThis uploads every upload file from the archive with its alternative text and caption, creates every document as a draft (referenced entries first), opens the change set and prints its link. It ends with a summary like this one:
Media: 11/11 uploaded. Entries: 18/18 created (3 stay drafts: they were not published in Strapi).A locale published in Strapi goes into the change set, and a draft-only locale stays a draft. The owning side of a relation is imported; you answer the inverse direction with a filter on the owning field.
Step 5: Review and ship the change set
https://cms.example.com/admin/s/default/changes/<id>Open the link the map step printed (also under Changes in the admin). Each item shows its locale, the Publish action and its fields. Choose Ship, then Ship again in the confirmation. Everything goes live together as one snapshot, and the page shows "Shipped. Live as v1".
Check it worked
curl -H "Authorization: Bearer $SHAPIO_TOKEN" "$SHAPIO_URL/api/content/articles?populate=author"Swap in the plural API ID of one of your models. Only entries that were published in Strapi come back, with their relations filled in. Add &locale=fr to read another locale.
Check the rich text. Blocks map directly, with underline and strike-through dropped. In Markdown, strike-through loses its mark and raw HTML is unwrapped.
When it goes wrong
schema apply refuses with FORBIDDEN_SCOPE if you planned with --shared and the token belongs to one site. Use a network admin token, or plan again without --shared.
--map refuses until the models exist, and names the missing ones and the apply command to run. It also refuses while a locale is missing, and names it: add it in Settings → Locales and run --map again.
An existing model with the same API ID stops schema apply. Rename the planned model's API ID and plural API ID in its file, and any colliding component, then apply.
Re-running --map skips finished work and retries what failed. It refuses if the export file changed since it was planned. --plan never overwrites an import that has started: plan into a new directory to start over.
A Strapi 4 export is refused. Upgrade the project with npx @strapi/upgrade major, then export again.
A set holds at most 2,000 items. A larger import opens numbered sets, "Import from Strapi (1/2)" and so on, which you ship one after another.
The rate limit is waited out automatically, but while a large --map runs, the admin opened from the same address can answer RATE_LIMITED for up to a minute.