Guide
Deploy a Shapio site to Cloudflare Pages and rebuild on publish
You will have a static Astro site on Cloudflare Pages that rebuilds when you publish, with deployment status tracked in Shapio.
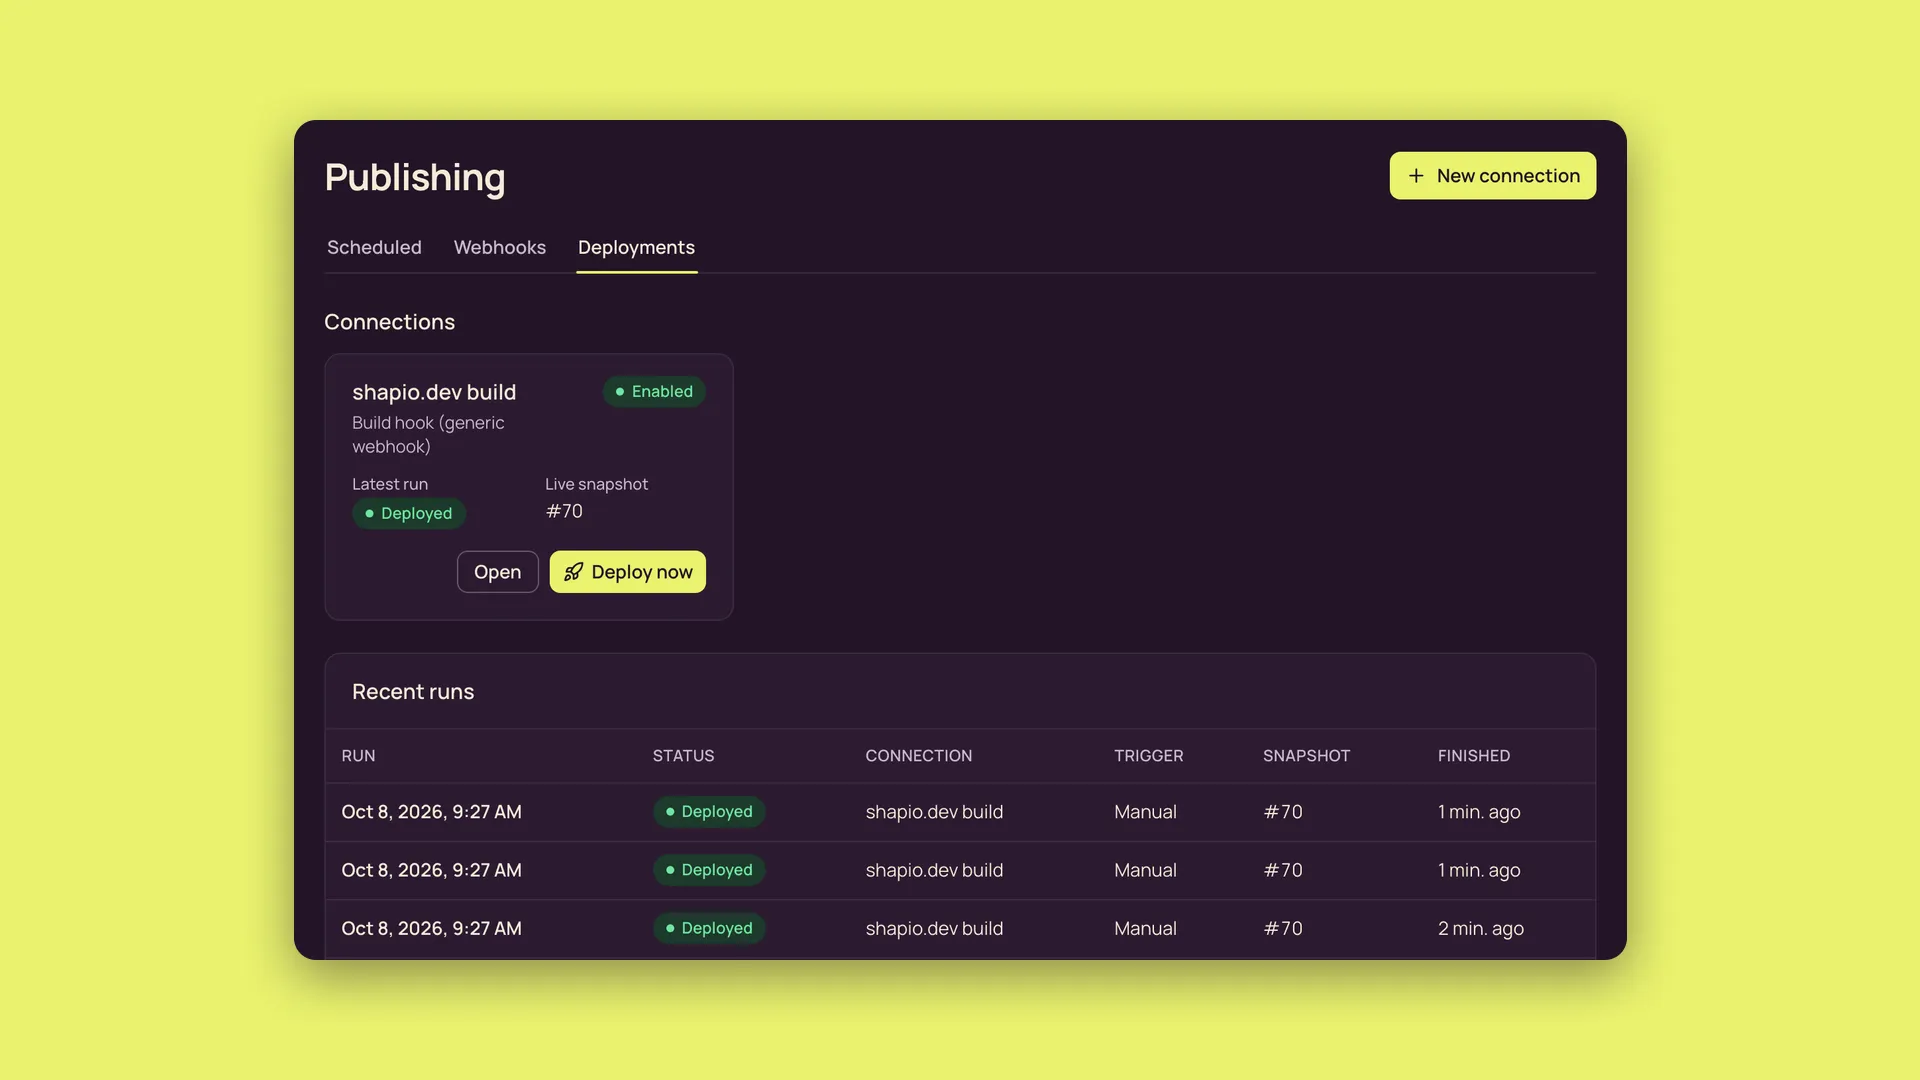
Cloudflare builds your site from Git, and Shapio starts each build through a deploy hook. Shapio follows the build through Cloudflare's API so you can see whether published content reached the website.
Publish once and the deploy hook does the rest.
Before you start
You need a running Shapio with an owner account, installed through npm or Docker. Your Shapio must be reachable from the internet for Cloudflare to read content.
This guide uses the Astro starter, which produces static HTML. Next.js uses on-demand revalidation, while SvelteKit uses a full rebuild started by a deployment connection.
Step 1: Create and seed your site
npx create-shapio my-site --site astro
cd my-site
This creates a standalone Astro project with the blog's model files in shapio/. Seed it against your running Shapio, using your address and owner credentials:
SHAPIO_URL=https://cms.example.com [email protected] SHAPIO_ADMIN_PASSWORD='…' npm run seedThe seed applies the models, uploads placeholder images, creates English and French content, and writes SHAPIO_URL and SHAPIO_DELIVERY_TOKEN to .env. Open the admin: Content shows pages and articles, Models shows the models, and Media shows images.
Running the seed again resets the content; its temporary admin API token is revoked when it finishes. It also creates a <site> dev token, written as SHAPIO_DEV_DELIVERY_TOKEN, that can read drafts and must never go to production.
Step 2: Build and inspect locally
npm run build
npm run preview
The preview serves dist/ and prints its address, http://localhost:4321/ unless that port is taken. The home page redirects to /en/, and the language switch leads to /fr/.
Each build reads the current publication snapshot once and pins it, sending it with every request as ?snapshot=N. Content published during the build waits for the next build; /build.json shows the built snapshot.
Step 3: Connect Cloudflare Pages to Git
Push my-site to your own GitHub or GitLab repository, then select that repository in Cloudflare:
Workers & Pages → Create → Pages → Connect to Git
Framework preset: None
Build command: npm run build
Build output directory: dist
Root directory: leave empty
The Astro preset works too; both give npm run build and dist. In Production environment variables, set NODE_VERSION to 24 and SHAPIO_URL to your Shapio's address, for example https://cms.example.com. Set SHAPIO_DELIVERY_TOKEN as a secret, using the token the seed wrote to .env or one from Settings → API tokens with a delivery role that reads page, article, author and siteSettings.
Never set SHAPIO_DRAFTS or SHAPIO_DEV_DELIVERY_TOKEN in production. Click Save and Deploy: the first build runs and the site becomes live at https://<project>.pages.dev.
After the first build, turn on Settings → Builds → Build cache. The starter re-renders only the pages whose content changed and restores the rest from the previous build, and that needs the cache to survive between builds. Without it, every build is a full one.
Step 4: Create the hook and API token
Workers & Pages → your Pages project → Settings → Builds → Deploy hooks → Add deploy hook
My Profile → API Tokens → Create Token → Custom token
Create the hook for the production branch and copy its URL. Give the custom token Account → Cloudflare Pages → Read, limited to your account, and copy the token.
Note the project name and account ID. You can find the account ID in the Workers & Pages overview's right-hand column or the 32-character hex string in the dashboard URL.
Step 5: Add the deployment connection
Publishing → Deployments → New connection → Cloudflare PagesEnter the account ID, project name, deploy hook URL and API token, then select On publish and Manual. Test connection should pass: it checks that the token can read the project without starting a build.
You can enter the API token as ${ENV:SHAPIO_SECRET_CF_PAGES_TOKEN} instead. Set that variable for Shapio's API and any dedicated worker; Shapio stores only the variable name and reads its value when needed.
With On publish selected, every publish starts a build. Bursts are coalesced, so ten publishes in a minute start one build.
Step 6: Set up draft preview
Set the connection's preview URL template:
https://<project>.pages.dev/preview/?model={modelKey}&id={entryId}&locale={locale}#token={token}Add https://<project>.pages.dev to Shapio's CORS_ORIGINS and restart Shapio after changing it. The entry's Preview opens the draft beside the document; clicking its title or body focuses that field.
Check it worked
Publish something. The connection's run should move through triggered → building → deployed, with Cloudflare's build log link and the snapshot it was started for. Open the site and check the change.
A Pages deploy hook cannot pass parameters, so the build pins the snapshot current when it starts.
When it goes wrong
If a build is already queued for the branch, Cloudflare answers the hook with HTTP 304. Shapio follows that queued build and reports its result.
A provider that stops answering shows unknown. Shapio does not invent completion status.
A wrong SHAPIO_DELIVERY_TOKEN makes the build fail reading content with 401. Shapio shows failed, the reason and the log link, while the content stays published. Restore the right token and Retry the run. Check that it deploys and the site shows the change.